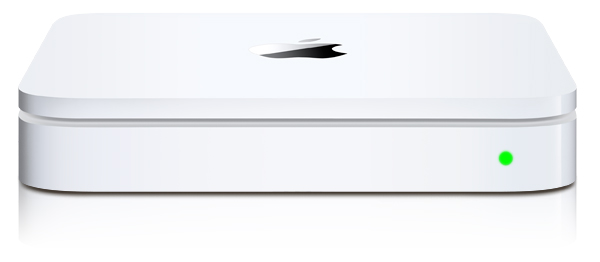
After going to the Apple Store with a friend and seeing the $300+ Apple Time Capsule I decided to see if I could do the same thing with Netatalk. Turns out I could but if you’re using Debian stable like me you need to get at netatalk 2.2.x before it’ll work with OSX Lion 10.7.x. After seeing a variety of other examples out there on the net and getting a little confused as to why they were doing certain things I decided to just post how I did it. Also, rather than install things from source I like to use debian packages to keep servers clean. But there was a small problem due to a netatalk make bug that debian’s package didn’t account for. So I will post those packages I backported to stable for this.
Packages
Debian 6.0 (Squeeze) AMD64
Debian 6.0 (Squeeze) i386
Netatalk Time Capsule Server Setup
After you’ve installed the packages create a service group by creating /etc/avahi/services/afpd.service and adding the contents below: (this might not be necessary with netatalk 2.2)
<?xml version="1.0" standalone='no'?><!--*-nxml-*-->
<!DOCTYPE service-group SYSTEM "avahi-service.dtd">
<service-group>
  <name replace-wildcards="yes">%h</name>
  <service>
    <type>_afpovertcp._tcp</type>
    <port>548</port>
  </service>
  <service>
    <type>_device-info._tcp</type>
    <port>0</port>
    <txt-record>model=Xserve</txt-record>
  </service>
</service-group>
Make a directory to store your time machine data:
mkdir /var/timemachine
Now mark the volume saying it is a supported time machine share:
touch /var/timemachine/.com.apple.timemachine.supported
Define a volume in /etc/netatalk/AppleVolumes.default with the allowed user, usedots to support hidden files, uprivs for afp3 privileges that osx lion needs, and tm to enable time machine support. (highlighted below)
# By default all users have access to their home directories.
~/                      "Home Directory"
/var/timemachine         TimeMachine allow:joe cnidscheme:dbd options:usedots,upriv,tm
Now that things are configured we need to restart avahi.
/etc/init.d/avahi-daemon restart
And restart netatalk
/etc/init.d/netatalk restart
Apple OSX 10.7.x Lion Setup
Now set your OSX installation so it sees unsigned time machine volumes.
defaults write com.apple.systempreferences TMShowUnsupportedNetworkVolumes 1
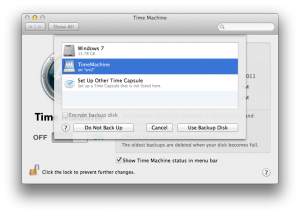
You should now see your volume in Time Machine Preferences under “Select Disk…”.

